LINUX ON THE INTEL NUC
 |
| The mighty little Intel NUC and Linux! |
While not too difficult a task to setup, doing so is not without some challenges. So I am documenting it in hope of providing some help to others. Firstly, note that I will be utilizing Linux Xubuntu to setup the system as I don't use Windows. If you are using Windows, this may only be helpful to understand something of the process. Secondly, I am installing Xubuntu on the NUC, as it successfully recognizes the networking hardware without issue and also has a strong boot loader that does not fail on the NUC (Several other distros failed in both of these respects largely due to the lack of appropriate drivers, etc).
What you will need:
Intel Nuc (I have the NIC6i5SYH Intel Core i5)
Laptop sized hard drive (Supports 2.5 drives and M.2 Solid State Drives)
Highly recommend getting a solid state drive as the speed is significant.
Laptop memory - DDR4 SO-DIMM Ram (up to 32GB)
You can start with just a single 8GB card if you like.
EZ-Dock Drive Reader (or similar drive reader)
This is technically optional, but recommend for easily being able to make adjustments on the drive without having to install the drive to your installer machine.
UNetbootin (Linux software)
Run the following command to install on Ubuntu:
sudo apt-get install unetbootinGParted (Linux software)
Run the following command to install on Ubuntu:
sudo apt-get install gparted Keyboard and Mouse
I personally use the small wired Gear Head keyboard with a touchpad.
HDMI Monitor or VGA to HDMI adapter with VGA Monitor
The NUC outputs directly to HDMI, so you can run it straight to most modern TVs. If you don't have a monitor with HDMI inputs, you can get an adapter to convert the signal to standard VGA.
Quick Installation Guide:
- On you installer machine, plug in your driver reader and place your new drive in the drive slot. Note: If the drive is unformatted, it may not auto-mount.
- Open GParted and locate the drive (be very careful that you have the right drive, or you could damage your installer system). I use the command in the terminal: sudo gparted
- In gparted you will notice the dropdown on the right. This is your drive selector. Select the drive. Usually it is the last one listed and when you select it the size will be just under the official size and when selected the space will say, unallocated (again, be careful you select the new drive and not your system drive).
- Create a new partition table on the drive (see Device menu ->Create Partition Table). Linux can use either a GPT or MSDOS table type. GPT is newer and allows for more partitions and larger disk sizes. Thereafter, you will next create three types of partitions on the drive. Select the one you want from the dropdown menu. This will make things much easier when you get to the actual Xubuntu install.
- Create a fat32 partition on the drive (Partition->New) that is approximately 3 GB (or 2861 MiB aka "Mebibytes"). This will be the location where UNetbootin will install your initial setup image.
- Create a linux-swap partition (Partition->New) that is at least 1 GB (954 MiB). This will help with memory on the new system.
- Create an ext4 partition (Partition->New) on the drive with the remaining space. This will be where your new operating system will be installed.
- IMPORTANT: When you are done configuring your partitions with Gparted, click the apply button to save the changes! Thereafter, in order to use the drive and the new partitions you created, you will want to close Gparted, and restart your drive reader. Linux should now recognize the new partitions and list them as drives on your system. WARNING: If you start UNetbootin before doing this, it will not see them and if you follow through with the process, you could alter your installer system!
- Open UNetbootin and select the Linux Distro (again, I am using Xubuntu as it successfully recognized the networking hardware without issue, you can also select a local iso if you have one made already). At the time of the initial writing of this article, I selected Xubuntu for the distribution and 14.04 Live x64 for the version. However, later, since it was not listed, I went out and retrieved the iso of the distro I wanted (Xubuntu 20.0 core). I use the command unetbootin in a second terminal to start UNetbootin.
- In UNetbootin I then selected for "type" USB Drive (location of the EZ-Dock), and then in "drive" I selected the fat32 partition I just created.
- Click OK, and UNetbootin will download the distro iso and unpack it to the fat32 partition.
- When UNetbootin identifies that the process is complete. Exit the program and unmount or power off your EZ-Dock and remove the drive.
- Open your NUC by unscrewing the screws on the bottom of the device.
- Place your drive in the drive slot and put your NUC back together.
- Connect your power, mouse, keyboard and monitor and power on the device.
- The device should boot the fat32 partition and prompt you to install and then eventually prompt you with the available partitions.
- Reset the linux-swap partition with the tool.
- Reset the ext4 partition with the tool and specify it as the / mount point. Then also check the box to indicate you wish to format the partition.
- Follow the steps to complete the installation. At this point, you can try to reboot, but since the fat32 partition will mount again, you will only be prompted with boot options again. So a simple fix for this is to now remove the fat32 partition.
- When the installation is complete, power off the device and then open the device and remove the hard drive and place it back into the EZ-Dock on your installer machine.
- Open GParted and remove the fat32 partition. Once you place the drive back in your NUC, you will not be prompted with the installer again, and if the install went correctly, you should be able to boot into your new system.
- Note: I leave the unallocated space left by the fat32 partition for future system installation space, in which I just repeat the process.
Now enjoy your new system!!! Please post comments if you have any suggestions, shortcuts or improvements on these instructions. I would love to hear them!
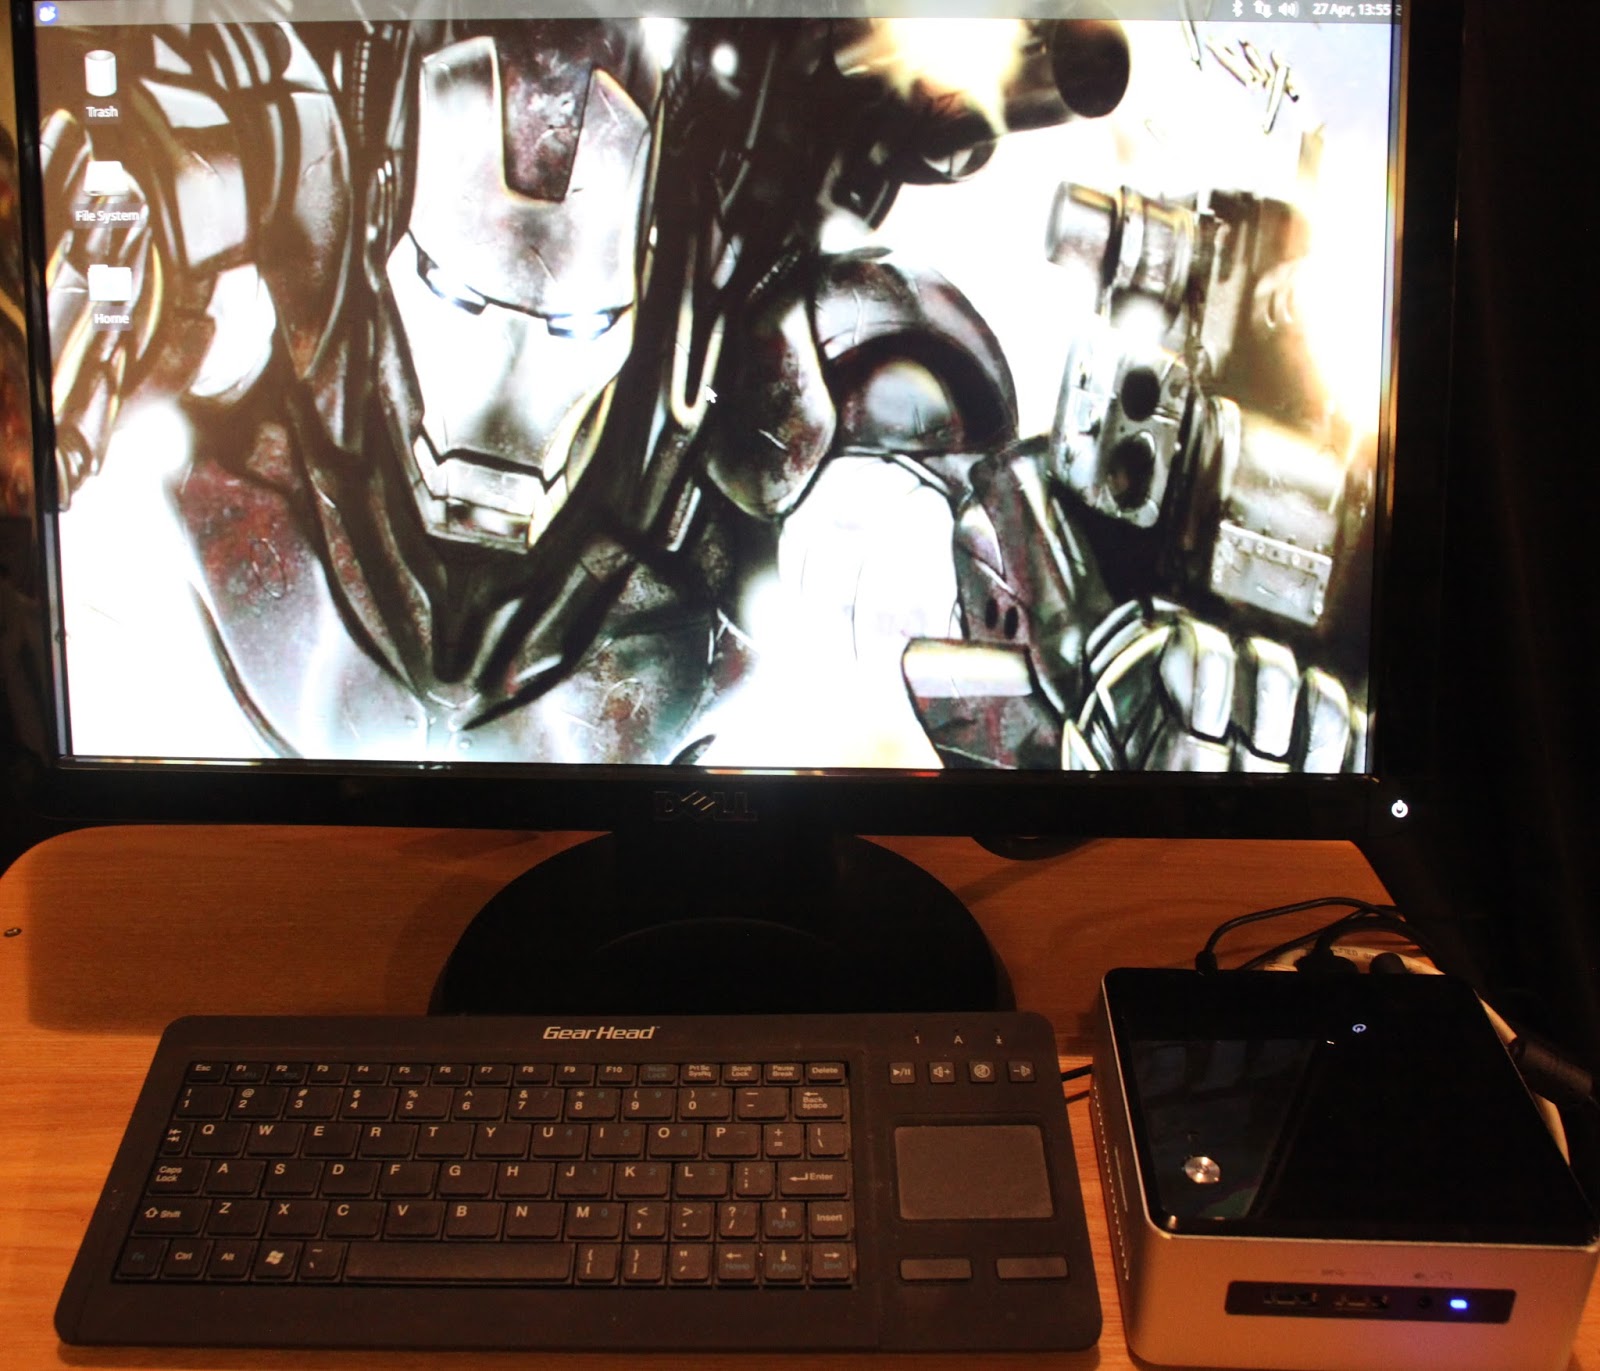 |
| My NUC, aka "WAR MACHINE" |
Comments